How to Grow and Save Squash Seeds (Without Losing Your Mind)
Squash is like the overachiever of the vegetable world—fast-growing, productive, and available in all shapes and sizes. Whether you want summer squash, winter squash, pumpkins, or gourds, you’ll be growing them the same way. Plus, they won’t cross-pollinate between species, so you can plant different kinds without worrying about your pumpkins turning into some weird zucchini hybrid.
Time of Planting
Squash is no fan of the cold. Wait until the danger of frost has passed before sowing seeds directly into your garden. Feeling impatient? Start seeds indoors and transplant them later.
Spacing Requirements
Give your squash some breathing room. Create 12-inch diameter hills spaced 6 feet apart. Plant 6-8 seeds per hill, then thin to the strongest 3-4 plants. Bury seeds about an inch deep—deep enough to stay put but not so deep they need a search party to find the surface.
Time to Germination
Anywhere from 5-10 days. If you find yourself impatiently hovering over the soil, don’t worry, they’ll pop up before you know it.
Special Considerations
Hand-pollination is recommended if you’re growing squash for seed-saving purposes. This means getting up close and personal with your plants and playing matchmaker with their flowers. (Squash bees usually do the job, but sometimes they need a little help!)
Common Pests and Diseases
Pests: Aphids, slugs, and the dreaded squash vine borer—nature’s way of keeping gardeners humble.
Diseases: Powdery mildew, downy mildew, and cucumber mosaic virus. If your leaves look like they’ve been dusted with powdered sugar or are turning a funky yellow, you may have an issue. If plants show signs of mosaic virus (like mottled leaves and rotting fruit), remove them from the garden ASAP—don’t even think about composting them! Aphids love to spread this disease, so controlling them can help keep your squash safe.
When and How to Harvest for Food Consumption
Different squash have different timelines, but here’s the general rule:
- Summer squash (zucchini, yellow squash): Pick them young while they’re still tender. If you let them get too big, you might as well carve them into canoes.
- Winter squash & pumpkins: Wait until the stem turns brown and the skin hardens. If you can’t dent the skin with your fingernail, it’s ready.
Eating (The Fun Part)
Squash is versatile enough to fit into every meal—roasted, grilled, baked, pureed, and even turned into desserts. Ever tried squash fries? Squash breadsticks? Now’s your chance.
Pumpkins? They make killer pies and roasted seeds.
Zucchini? Stir-fry it, stuff it, or turn it into noodles and pretend you’re on a health kick.
Butternut squash? Toss it in soup and feel instantly fancy.
Storing
Summer squash lasts about a week in the fridge, while winter squash and pumpkins can last for months in a cool, dry place. The trick is keeping them out of humid environments, or they’ll turn into a science experiment.
How to Save Squash Seeds
Life Cycle
Squash is an annual, which means it goes from seed to seed within one growing season.
Recommended Isolation Distance
Keep different varieties of the same species at least 800 feet to ½ mile apart to prevent cross-pollination. If you don’t have that much space (who does?), hand-pollination is your best bet.
Recommended Population Sizes
- 1 plant for viable seeds
- 5-10 plants for long-term variety maintenance
- 25+ plants for preserving rare varieties (because who doesn’t love a rare heirloom squash?)
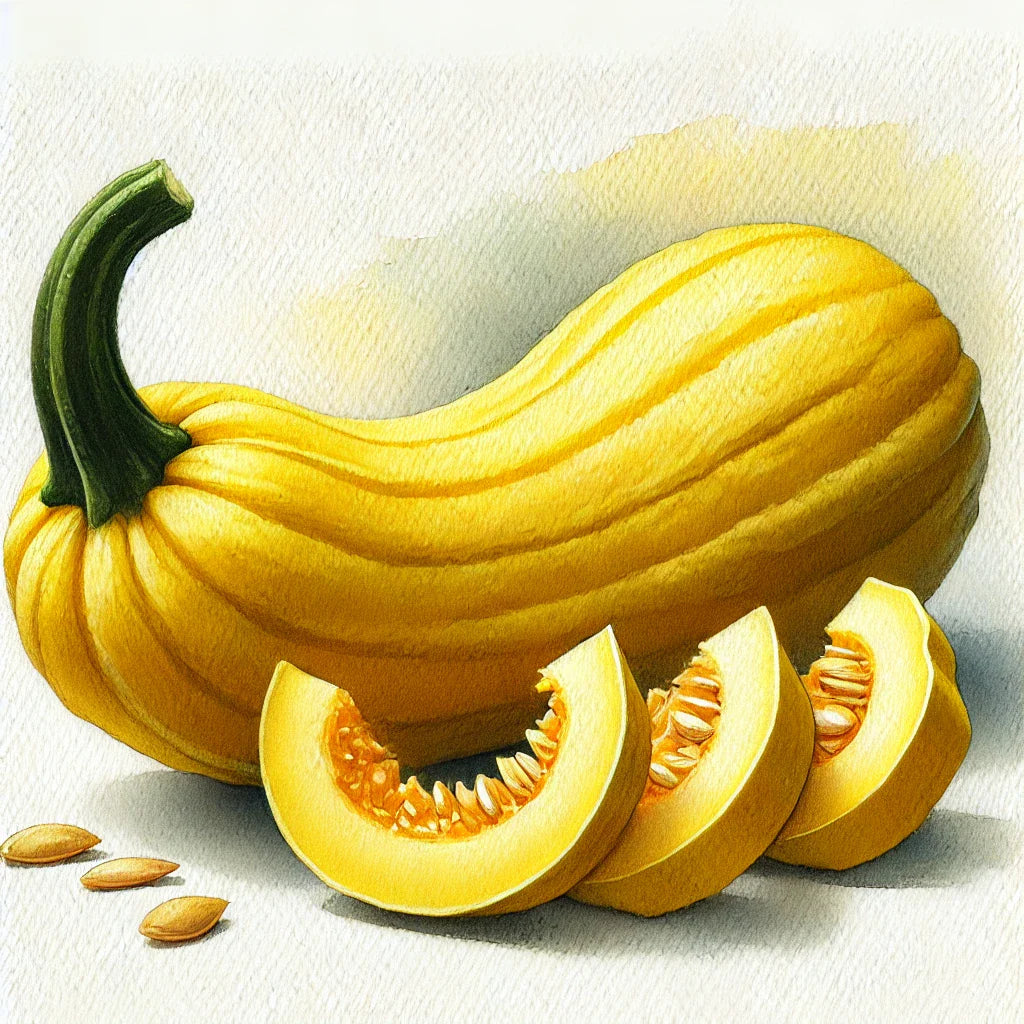
Assessing Seed Maturity
- Summer squash: Let them grow way past their normal edible size. They should change color and develop rock-hard skin.
- Winter squash: Harvest them at the usual time (when stems are dry), and then let them sit for a few weeks to finish maturing inside.
Harvesting Seeds
Squash seeds need time to mature, even after you pick the fruit. Store harvested squash for at least 20 days before seed extraction. If frost threatens before your squash fully ripens, pull the plant and let the fruit continue ripening in a shady, dry spot.
Cleaning and Processing
- Cut the squash in half (avoid slicing through the center to protect seeds).
- Scoop out the gooey insides.
- Massage the seeds free from the pulp.
- Rinse under a strong stream of water.
- If seeds are hard to clean, soak them for a few hours.
- Use the decanting method: Add water to a container of seeds, swirl it around, and pour off the floating debris (immature seeds will float, good ones will sink).
Storage and Viability
Once fully dried, squash seeds will stay viable for six years if kept in a cool, dry place. Store them in an airtight container, label them (because memory fades), and tuck them away in a dark, cool spot until you’re ready to plant next season.
Final Thoughts
Growing squash is rewarding, but saving seeds? That’s where the real magic happens. With a little effort (and maybe a bit of matchmaking between flowers), you’ll have enough seeds to grow your favorite squash varieties for years to come. Plus, you’ll get to impress friends and neighbors with your heirloom seed-saving prowess.
Happy growing—and may your squash be plentiful and your vine borers nonexistent!