How to Grow and Save Brussels Sprout Seeds (Without Losing Your Sanity!)
Brussels sprouts are the tiny green cabbages that people either love or pretend to love while secretly feeding them to the dog. These bite-sized greens belong to the Brassica oleracea family, which means they’re distant cousins of broccoli, cauliflower, kale, and cabbage. They take their sweet time to grow, requiring patience, care, and just a touch of mild frustration. However, once you master the art of Brussels sprout cultivation, you’ll have a crop worth bragging about.
Time of Planting
Brussels sprouts demand commitment. They need a long growing season, so don’t procrastinate! Start seeds indoors about 4-6 weeks before the last frost. Transplant them outside just before the last frost—because nothing says "spring" like putting tiny plants in the dirt and hoping for the best.
Planting and Spacing Requirements
Plant seeds ¼ inch deep in seed-starting flats. When seedlings reach the awkward teen stage (3-4 inches tall), transplant them into your garden, giving them a personal bubble of 18-24 inches apart. Crowded Brussels sprouts lead to poor air circulation and possible plant drama.
Time to Germination
Expect sprouts to appear in 3-10 days. Some may pop up quickly, while others will take their sweet time—just like people in a morning meeting.
Special Considerations
- Biennial Behavior: Brussels sprouts are the moody teenagers of the garden, waiting until their second year to flower and produce seeds.
- Isolation Requirements: If you’re growing multiple Brassica oleracea crops for seed-saving purposes, separate them by at least 800 feet to half a mile unless you want mystery hybrid plants.
- Staking is Recommended: Tall, top-heavy plants need support—much like a tired gardener after a long day.
Common Pests and Diseases
Brussels sprouts attract a fair share of unwanted dinner guests, including cabbage butterflies, cutworms, flea beetles, and harlequin bugs. Diseases like leaf spot and black rot can also crash the party. Keep these freeloaders in check with row covers, vigilant monitoring, and a little organic pesticide if needed.
When and How to Harvest for Food Consumption
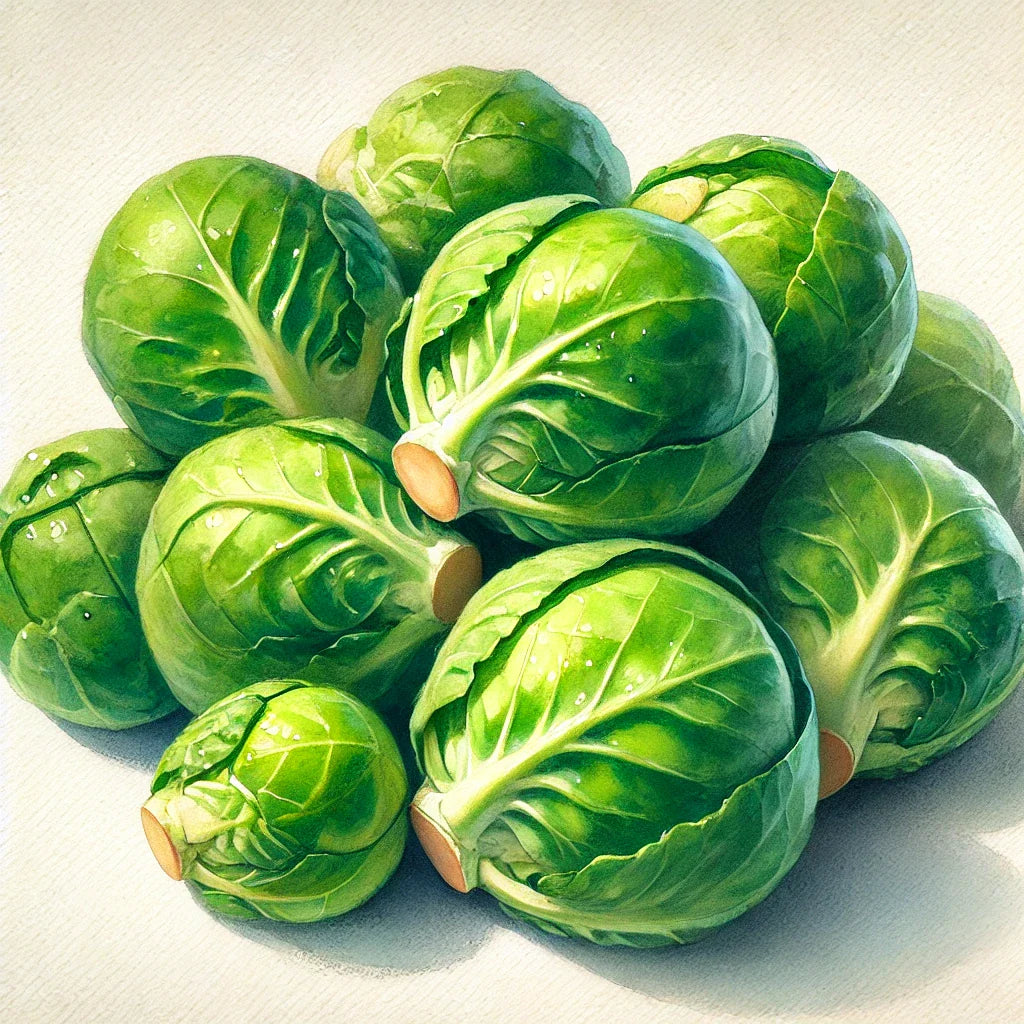
Start picking sprouts when they’re about the size of a marble or slightly larger (around 1 inch in diameter). Harvest from the bottom up, since those mature first. Use a sharp knife—because hacking at them with your hands just leads to frustration.
Eating Brussels Sprouts (Yes, They Can Be Delicious!)
- Raw: Thinly sliced and tossed into a salad (a sneaky way to get picky eaters to try them).
- Steamed or Boiled: Classic preparation, but please, for the love of taste buds, don’t overcook them into mush.
- Roasted: Tossed with olive oil, salt, and a bit of balsamic vinegar for a guaranteed hit.
Storing Brussels Sprouts
Fresh Brussels sprouts last for weeks in the fridge—if you don’t snack on them first. If you want to enjoy them in the depths of winter, blanch and freeze them for later use.
How to Save Brussels Sprout Seeds (Because You’re Officially a Pro Now!)
Life Cycle
Brussels sprouts are biennial, meaning they flower and produce seeds in their second year after experiencing a cold period (a.k.a. vernalization).
Recommended Isolation Distance
To avoid accidental cross-pollination with other Brassica oleracea relatives, separate varieties by at least 800 feet to ½ mile. Or be prepared for unexpected Brussels sprout-broccoli hybrids (which, honestly, could be interesting).
Recommended Population Size
For viable seeds, save from at least 5 plants. If you’re in it for the long haul and want to preserve genetic diversity, aim for 20-50 plants. And if you’re on a noble quest to protect a rare variety, go big with 80 plants or more.
Vernalization: The Cold Shoulder Method
Brussels sprouts need 10-12 weeks of chilly temperatures (around 50°F) to enter their reproductive phase. If your winters aren’t that kind:
- Field Vernalization: Leave plants in the ground and let nature do the work, as long as the temperature doesn’t dip below 35°F too often.
- Storage Vernalization: Before the first frost, dig up entire plants (roots and all), replant them in pots with slightly moist soil, and store them somewhere cool (34-39°F) with high humidity—like an unheated garage, shed, or traditional root cellar.
Replanting in Spring
Once the soil is workable in the spring, replant the vernalized Brussels sprouts, spacing them 18–24 inches apart in rows 36 inches apart. Staking is highly recommended, or else you’ll have floppy plants that look like they’ve given up on life.
Assessing Seed Maturity
Seed pods will turn from green to dry and brown. Act fast—mature pods tend to shatter when you least expect it, sending seeds flying like tiny confetti. Birds may also try to steal your hard-earned seeds, the sneaky little opportunists.
Harvesting Seeds
Cut entire seed branches or pull up the whole plant. Since Brussels sprouts have a dramatic tendency to explode into seed chaos, harvest over a drop cloth or bucket to catch stray seeds.
Cleaning and Processing
Thresh dry pods by rubbing them between your hands or whacking them against a surface—therapeutic after a long season. Discard empty pods and winnow out the chaff for clean seeds.
Storage and Viability
Store Brussels sprout seeds in an airtight container in a cool, dark, and dry place. With proper storage, seeds remain viable for several years—giving you plenty of time to plan your next sprout-growing adventure.
And there you have it—a complete, humor-filled guide to growing and saving Brussels sprout seeds. Now go forth, plant boldly, and embrace your inner sprout enthusiast!